Share This :
Thank you for your support Dismiss
Skip to content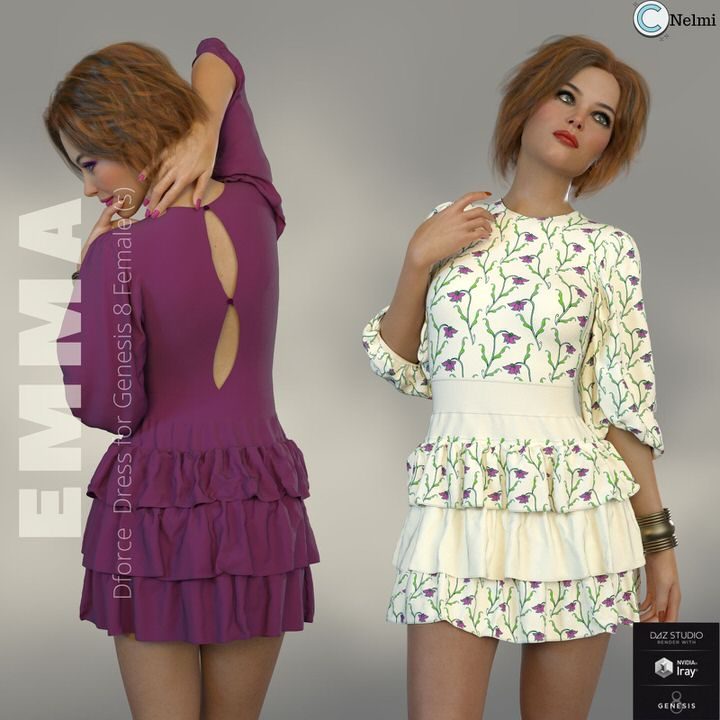
People often ask me what the process is to create 3D clothing. I must admit, it was one of the things that I dreaded the most to learn. I did texture expansion sets for the 3D clothes for other artists, Iray shaders, lights, textures and many more. Yet, the idea of creating 3D clothing was a daunting prospect. Why? Because there was not a lot of information available on the Internet to guide me.
I dug my heels into it and decided that it was now are never. Time to step-up my game.
I took me 3 months and I slowly started to get into the process of creating 3D clothing. The first outfit took a month to finish. It was a simple dress and I thought it was not too difficult. Yet, when the time came to submit it for approval at Renderosity, I quickly realized that many of the important steps were left undone.
This post is for beginners and it will not go into detail but it will give you an idea of the process involved to create your own 3D clothing. It is also an informative post for others to understand what is involved and why we should not pirate and share works of other artists on torrent sites due to the amount of work that is involved.
I often browse fashion magazines and internet for ideas. Unfortunately I cannot draw, so I rely heavily on the software that I use to give life to my ideas. Download an image and study it. See if you like it and what changes can be made to make the idea your own. Start with something simple and build up until you can create more complex outfits.
I use a combination of Marvelous Designer and Blender. My tool for designing is definitely Marvelous Designer. I use Blender to clear up unused vertices for example.
You do not need to be a fashion designer to use Marvelous Designer. It does help to have an idea about patterns and sewing because that is what you will be using in Marvelous Designer.
This process can take an hour or it can take a day. It all depends on what I want to create and how difficult it is. I create garments for the Genesis 8 Female characters. The default body is imported into Marvelous Designer in the A or T-pose. With actual patterns I model the clothing around her body shape. I use different kinds of fabric with different property presets. For example satin has a different preset to cotton.
I let the fabric drape, apply smoothing and export the garment to Daz Studio when I am happy with the result.
UV maps play a very important role in 3D clothing creation. It is extremely important to make sure that your clothing fits into the UV islands otherwise you will end up with a lot of problems when texturing starts. Marvelous Designer helps with UV maps as well.
This is where the fun and problems begin. With the Transfer Utility tool, the garment needs to be rigged to the body of Genesis 8 Female. This is often a complicated process and one that I repeat many times. Many 3D clothing creators do not move onto this step. They simply sell the Marvelous Designer project with the files.
Genesis 8 Female has bones like a human. She can move and bend. Simply put, rigging a dress for example will put the bones in the correct places (for the dress) in order to move with the character. If a garment was not rigged, it will remain in a static position and not move with the body.
There is so much more to rigging. Rigging also work with weight maps. A pair of pants will stretch heavily when a character moves her leg 90 degrees for example. Weight maps will eliminate this. Weight maps receive a special chapter, I only mention it here.
Now that the garment has been rigged and move nicely with your character, it is time to apply SubD to get more detail. Smoothing can also be applied to smooth the mesh. Define the material zones in conjunction with the UV maps. Material zones are important when you apply textures.
A dress for example will have a top, skirt,sleeves and trim. These can be put onto different material zones or they can be combined. Personally, I like to have various material zones. This makes texturing more interesting and the final product more flexible for other texture artists who would like to create texture expansion sets.
This is when the product comes alive. Apply textures to the material zones and Iray shaders. I always try to keep the shaders in line with the type of fabric that I have used. If my dress is cotton, I do not apply satin Iray shaders. This process can take a couple of hours or days. It all depends what you want to create.
The next step is to apply dforce and to see how the garment will behave when posed into different positions. Again, the material zones are very important because Dforce can be applied to each material zone. I might have buttons for example that will have a very low number of dforce or not at all. Whilst a skirt will have 100% dforce applied to get the draping and wrinkles right. It is a process that requires a lot of testing.
I must admit that my knowledge of JCM’s are limited. I rely heavily on weight maps and using the correct projection template when rigging. FBM’s are necessary when selling on Daz and Renderosity. It is a process whereby the garment needs to fit the body shape perfectly for example Voluptuous. I take the garment and body shape back into Marvelous Designer and use the Morph Loader Pro tool to assist me with that.
I normally create more or less 14 FBM’s for each garment.
Saving the product is quick and should be done regularly. This will avoid losing all your information when Daz crashes or hangs. Believe me it happens. Another creative process that I love is creating the promotional images. Scenes are rendered with your beautiful garment, to show prospective buyers why it is so desirable.
Depending on how fast your rig is, it could take long or you could have 10 promos ready in a couple of hours. I try to keep it simple and do not apply too many effects. The buyer wants to see the product as it is and not with a lot of Photoshop effects. Choosing the right light for Iray is very important.

Your product is now ready to be submitted. I use a very handy tool called Content gatherer to help group and zip my products. Now it is for sitting back and crossing your fingers. A tester will go through all your files, promos and hard work and see if everything works fine. Often products are sent back for small changes and you hope and pray it has nothing to do with the mesh!
I hope this information helps to give an overview of the process. I did not touch on Zbrush or creating more detail.
