Share This :
Thank you for your support Dismiss
Skip to content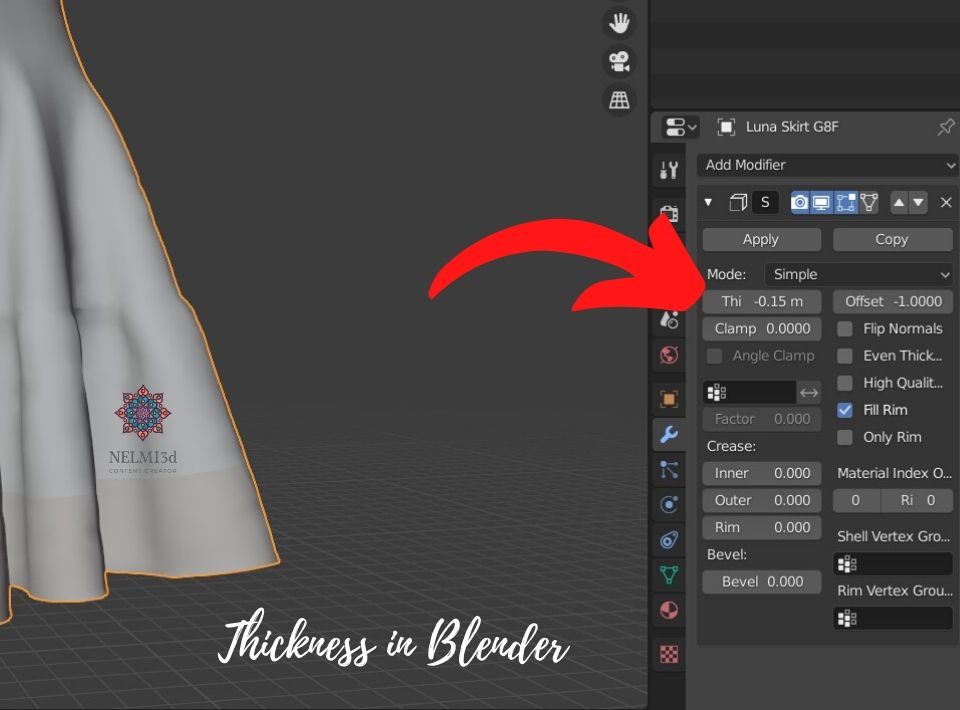
I was recently browsing forums and came upon a discussion about 3D clothing and why some vendors are getting it right and others not. The discussion was all about how realistic are 3D clothing and I immediately started to read the comments.
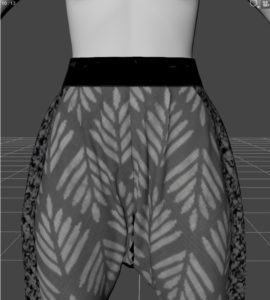
One man mentioned that he does not purchase clothing if they look paper thin. I went back to the clothing that I have been making the last couple of months and realized that he is absolutely right. The clothing drapes beautiful (thanks to Marvelous Designer and Dforce) but they do lack thickness.
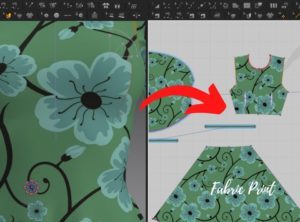
Well, that is the nature of 3D clothing. There is always works that needs to be done to the mesh after you export it from Marvelous Designer, to make the 3D clothing look more realistic. If you are a Marvelous Designer user, then you will know that there is an option to add thickness to clothing. It works great – inside Marvelous Designer.
However, when you export the obj with thickness selected, to Daz3D for example, you will immediately notice that the clothing falls apart at the seams when dforce is applied or holes will appear in the mesh when the item is rigged.
This happens because the clothing is not welded anymore. That is why we always choose thin and weld at export. It is a pity because I love the thickness that is added in Marvelous Designer.
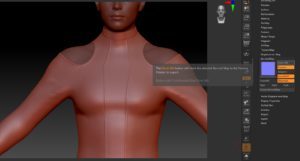
The obj can be brought into your modeler like Blender or ZBrush and you can weld it there together. I found it too complicated in Zbrush and reverted back to Blender. Adding thickness in Blender is very simple and I did not need to battle with edge loops and subdividing in Zbrush.
I am going to give the steps that I used to add the thickness directly in Blender.
1) Export the obj from Marvelous Designer without thickness and open Blender. I have the latest version of Blender.
2) Import the obj into Blender.
3) Select All and make sure that you are in the Object Mode. Thickness cannot be applied in Edit Mode and you will get an error.
4) Click on the blue Spanner icon on the right hand side with the Modifier Properties.
6) Add Modifier.
7) Click Solidify. A new menu will open. (Solidify will make the surface thick.)
8) I changed the thickness to -0.15 but you can change it to any value. You can see the thickness of the mesh increasing.
9) Press apply. If you do not press apply then the settings will not take effect.
10) Export the obj.

I find the process quick and not complicated at all. The other thing that I liked is the fact that I am not losing my material zones. I found that in Zbrush I lost it and when I imported the obj back into Daz, I ended up with one material zone only, which is not what I wanted.
This is the easiest solution that I have found that works for me. Other’s use Zbrush or you could do it the proper way by making a hem, folding it over and sewing it in place. That will also create thickness and it is the way they do it in real life sewing.
