Creating a Normal Map in Zbrush

Creating a normal mpa in Zbrush

Creating a Normal Map in Zbrush

Creating and saving a Normal Map in Zbrush is straightforward and easy to create. Normal maps are great sources to add extra detail to your project and I highly recommend spending some time on creating a good normal map to add those extra details and make your project unique.

How to create a normal map in Zbrush?

The process is easy. Let’s look at the steps involved:
  • Load your obj into Zbrush.
  • It is important to know that a Normal map in Zbrush will only work on an individual Subtool basis. That means you can only create one normal map per subtool and not more than one.
  • To create the normal map in Zbrush you also need to subdivide your model. Subdivide it to 3 or 4 for example.
  • You will need a UV map for your model.
  • Set the UV map size to 4096.
  • After you have subdivided your model, change the subdivision to lower for example 1 or 2.
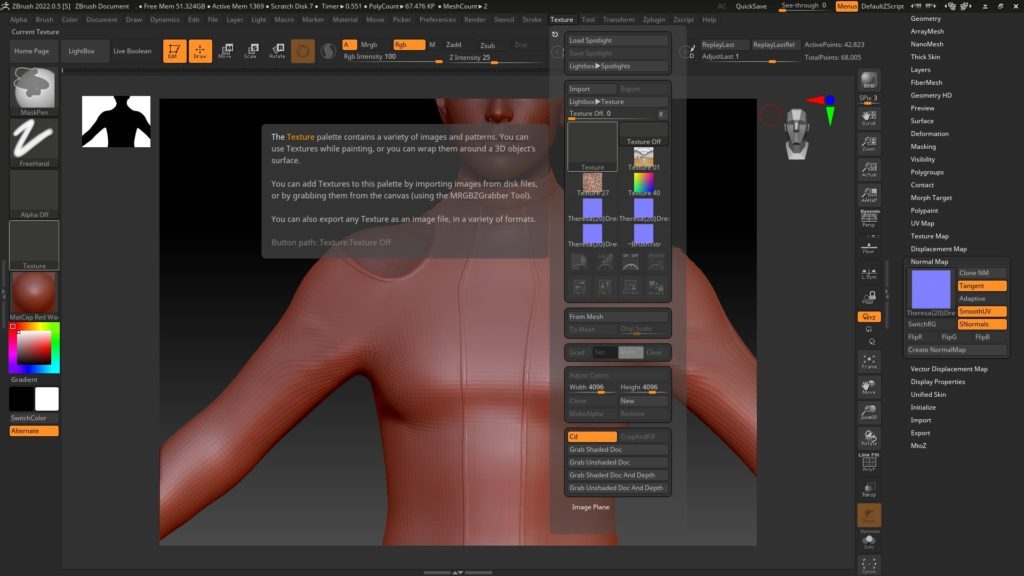
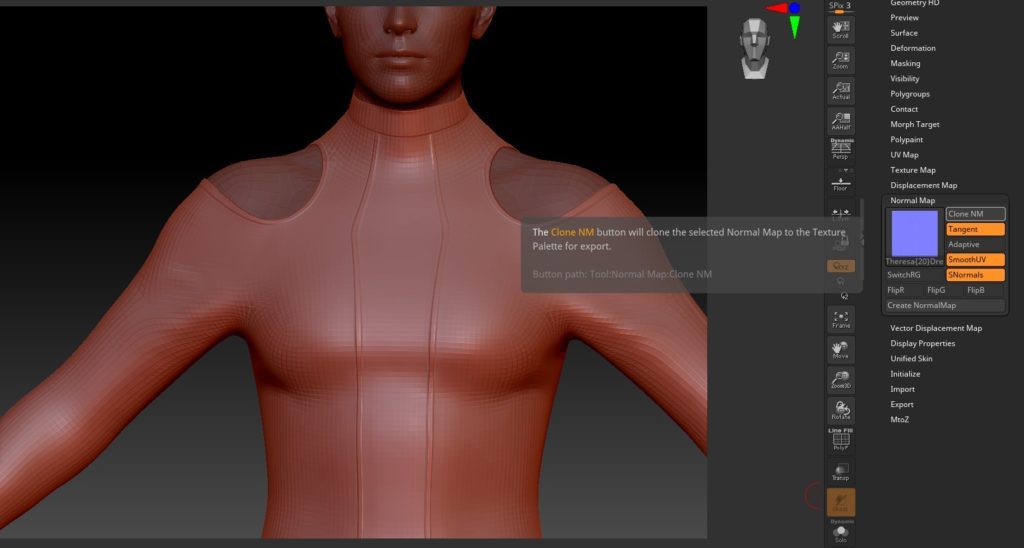
  • Go to the Normal Map area in Zbrush.
  • Create the Normal Map.
Creating a normal map in Zbrush
Creating the Normal map in Zbrush

How do I export a normal map from Zbrush?

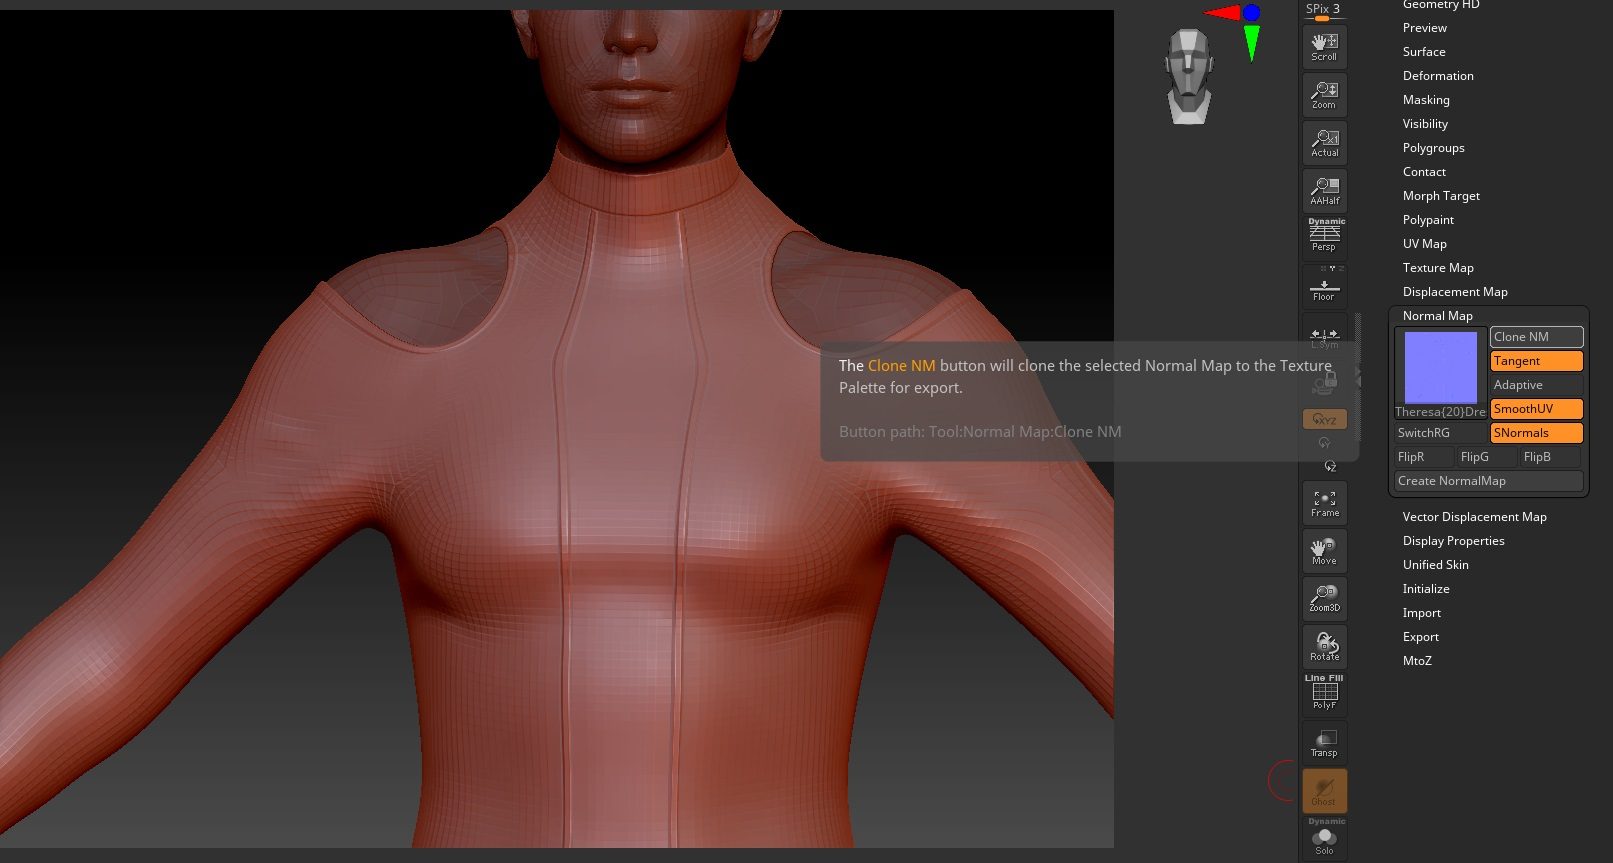
  • Clone the Normal Map.
  • It will be cloned to the Texture Palette.
  • Flip V before export. This will ensure that the normal map is not upside down.
  • Export it to the designated folder.
Export normal map from Zbrush
Share This :