Share This :
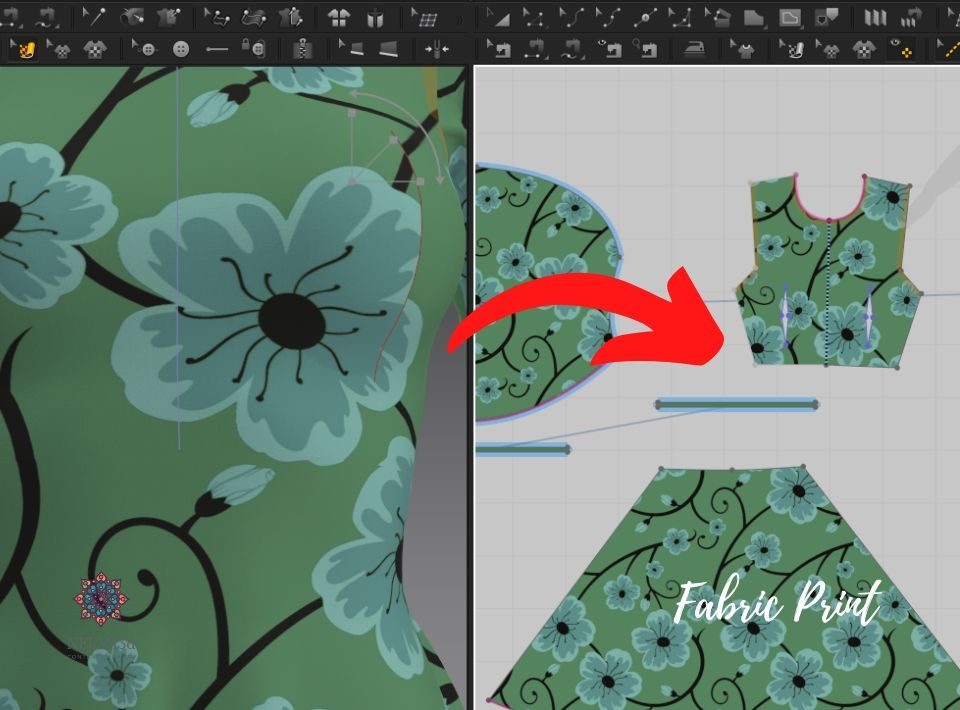
I like to use large fabric prints when working with Marvelous Designer. Bold flowers or geometrical patterns. This however could be a problem when you are trying to line the fabric print across seam lines.
Recently, I was working a new design with a big flower pattern. My dress consisted out of a top and skirt because I used different Physical Property presets for each pattern. The fabric print from the skirt did not align with the top.
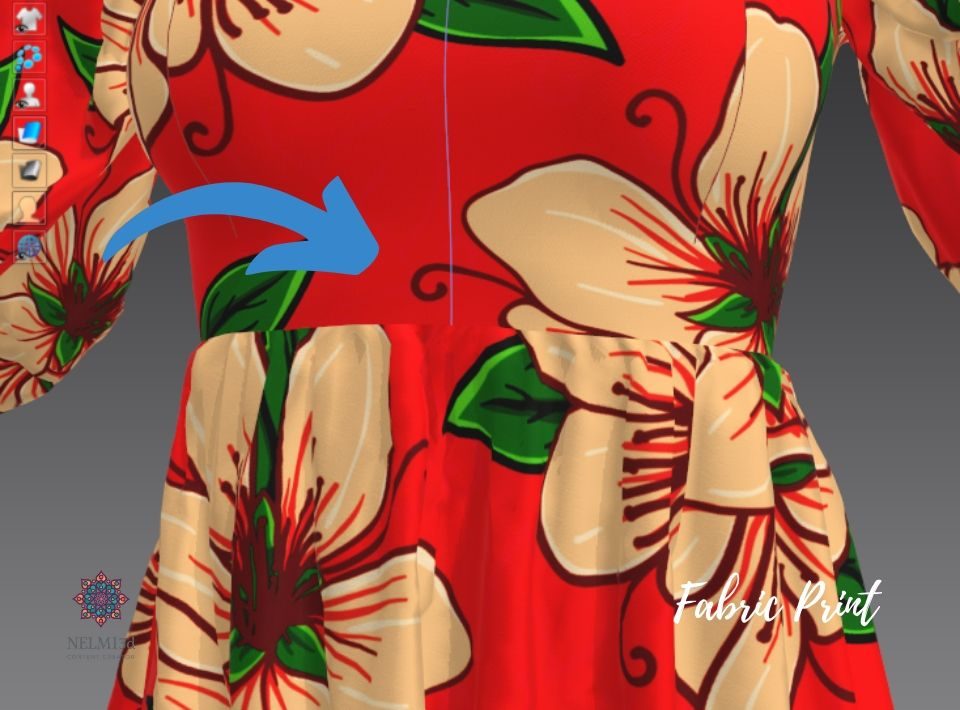
I spent a fair amount of time to manually try and align it but without luck.
As I mentioned before, you can use the 2D texture tool and try to align the print manually but this could be time consuming. Marvelous Designer is such a great program and I am sure they thought of a way to make this easier.
Unfortunately I could not find a solution with the tools available in Marvelous Designer. However, all hope was not lost. I belong to a group on Facebook where other users of Marvelous Designer help other struggling users. I turned to them for guidance.
It was suggested that I look at my actual pattern. The width of the bottom seam line of the top and the top seam line of the skirt did not correspond. I needed to change it manually.
Unfortunately, I needed to change my pattern slightly but it was not the end of the world. Once I changed the width on both, I reloaded the fabric pattern. It aligned almost perfect. A very small change had to be made manually to align the bottom of the flower petal.

When working with big prints, I suggest you look at the sizes of your patterns and where the seams meet up. If you can change the width, do it. It most likely will solve your problem. If not, then I suggest you look into another method. Please share it here for me and other readers to see.
In most cases this approach is not necessary when working with fabric that does not have a print.

Thank you for your support Dismiss